
Start with the patient and your daily case mix
Think like the person who will touch the device every day — the dentist, the lab tech, the nurse — not the salesperson. Ask: are you doing single crowns, full-arch, implant planning, or smile design mostly? The answers change the specs you need. For surface detail on veneers or complex occlusion, a reliable Photogrammetry 3D scanner can matter more than headline speed. Keep the questions tight: what errors can I tolerate in a single case? How many chairside vs lab cases per week? Those numbers decide whether to prioritise resolution, speed, or integration.

Run the user tests that really matter
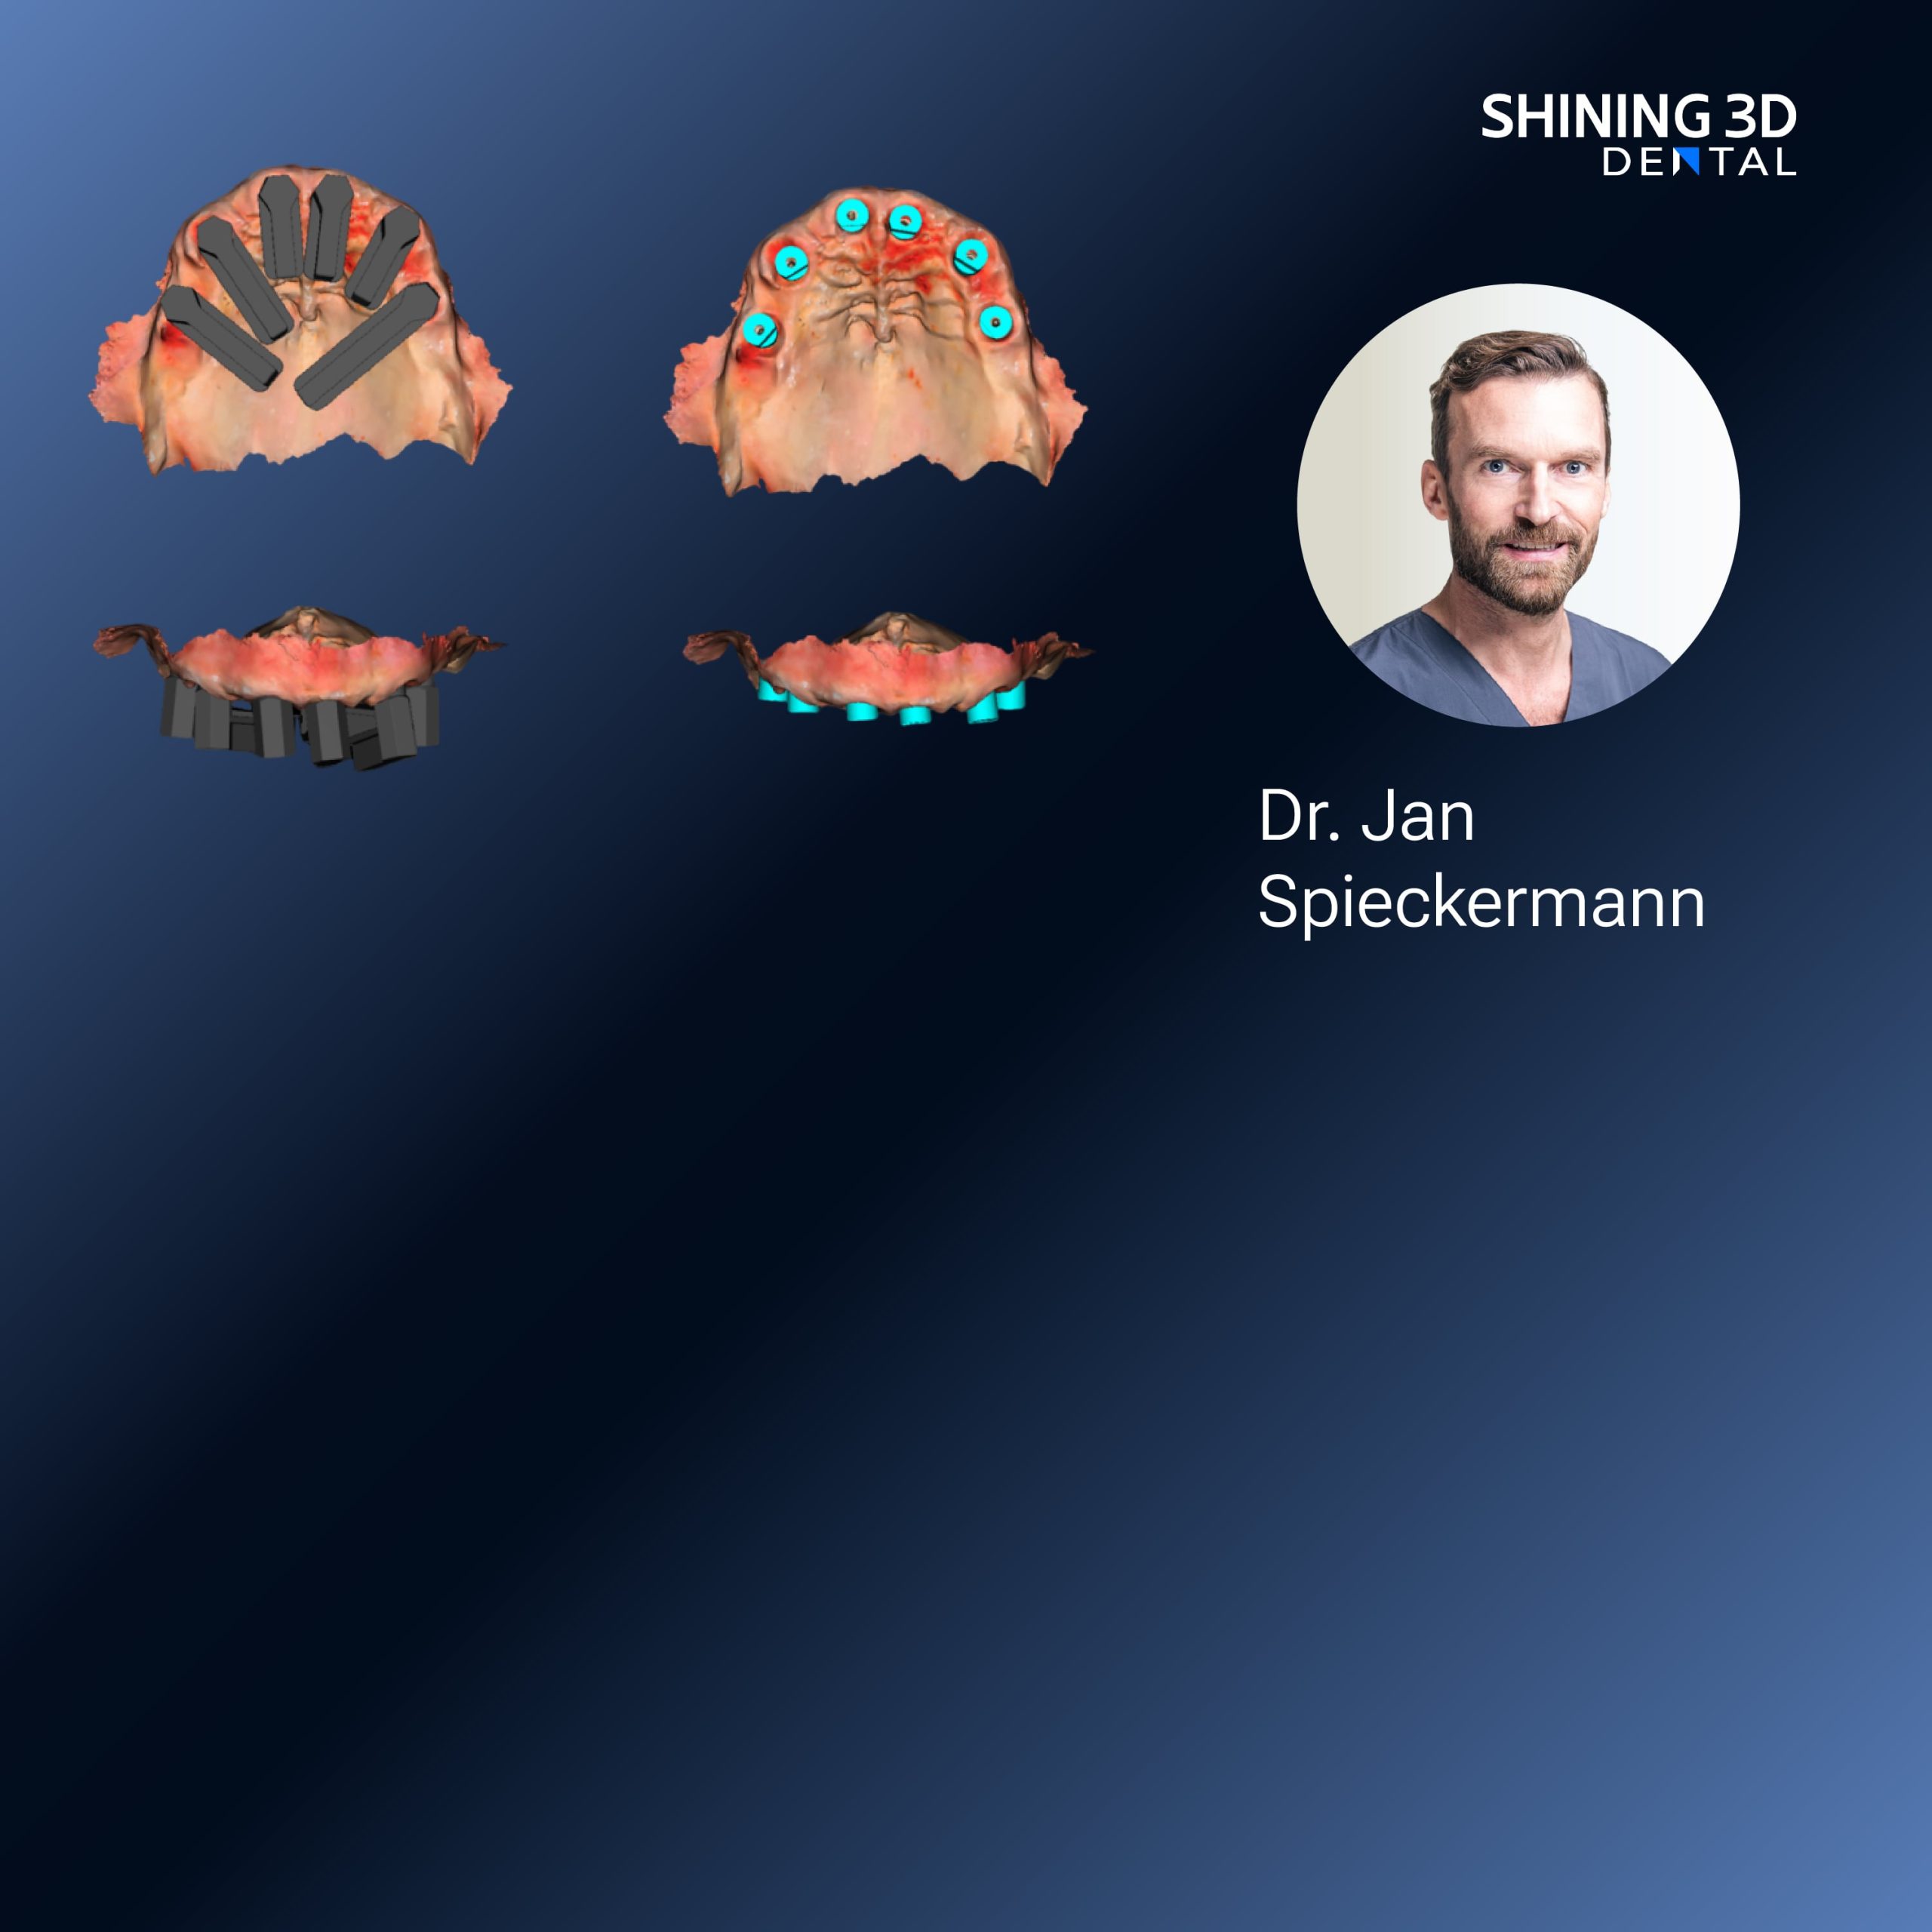
Put the system through the tasks you do tomorrow. Capture a patient, design a restoration, send files to your lab, mill or 3D-print, and fit the restoration on a model. Time each step and record failures. Check file export formats. Watch how much manual clean‑up is needed after scanning. I first saw shining 3d Photogrammetry dental demoed on a full-arch workflow at IDS in Cologne, and that real-world demo showed how quickly model matching and implant indexing cut remakes. Real demos like that matter — they show the small things that affect day-to-day trust.
Technical checklist: measurable specs, not glossy brochures
Demand numbers you can verify: accuracy in microns, repeatability across operators, scan-to-design turnaround time, supported file types (STL/PLY/OBJ/DFX/CX?) and open APIs. Ask for sample datasets to run through your own CAD software. Probe the registration method — is it marker-based, feature-based, or photogrammetry? Confirm how the system handles shiny or translucent materials; those are common troublemakers. If possible, run stats across five operators and five different case types to see real variability.
Integration: where workflows break or flow
Compatibility kills or makes value. Check whether the scanner and software talk to your milling machines, printers, and lab management system without constant manual file wrangling. Test digital prescriptions end-to-end: capture → design → CAM → fit. See how error messages present themselves; clear guidance matters when a nurse steps in. Small integration conveniences — a single export button, automated labeling, or built-in material libraries — save hours each week.
Cost analysis with real numbers
Ignore vendor-only ROI slides. Calculate cost per case: depreciation, maintenance, consumables, training hours, and staff time spent on rescans or adjustments. Add cost of downtime for software updates or calibration. Compare that to the current remake rate and lab fees you aim to reduce. A higher upfront price can still be sensible if the system reduces rework by measurable percent each month. Get maintenance SLA and typical repair turnaround times in writing.
Common pitfalls and how to spot them early
Vendors understate operator training needs. Expect a two-week learning curve for consistent results; insist on hands-on training with your team. Watch out for “closed” ecosystems that lock you into specific consumables or labs. Beware of scan speed claims that only apply under ideal conditions; ask for performance data on real patients. Check data security: are DICOM and patient metadata handled according to local regulations?
Compare viable alternatives — criteria, not brand battles
Use the same tests across all shortlisted systems. Compare on: measured accuracy, workflow uptime, integration openness, staff training support, and total cost per case. For photogrammetry vs structured-light scanners, weigh absolute surface fidelity against ease of use for full-arch indexing. If you need precise implant indexing across multiple intraoral captures, photogrammetry-based solutions often show an advantage on repeatability. Balance that against local service availability and spare-part logistics.
Ask about real support and updates
Support is operational risk management. Ask for a list of local service partners and average remote-fix times. Review software update cadence and whether updates require paid upgrades. Confirm whether your lab partners already support the system; find a nearby lab that has proven day-to-day experience. These practical facts tell you whether the system will be helpful or a headache when things get busy.
Decision cues to buy, test, or walk away
Buy when: measurable accuracy matches your case needs, your team can hit repeatable results in trials, integration fits your tools, and total cost per case improves your margins. Take a pilot when: core metrics look good but you need longer-term reliability data. Walk away when: training demands exceed your capacity, the ecosystem is closed with high recurring costs, or the vendor can’t demonstrate local support. Trust simple evidence over confident presentations.
Wrap-up: centre the practice, not the tech
The right workflow makes daily practice smoother, not more complicated. Base your decision on reproducible tests, clear cost math, and realistic training plans. If you want a system that blends precise full‑arch indexing with practical lab integration and visible results in trial cases, consider how SHINING 3D DENTAL fits those specifics rather than how shiny the brochure looks — that keeps the purchase sensible and the clinic running smoothly lah.